How To Remove Your Artificial Nails During the Global Salon Shutdown! Step-by-step Instructions.4/4/2020 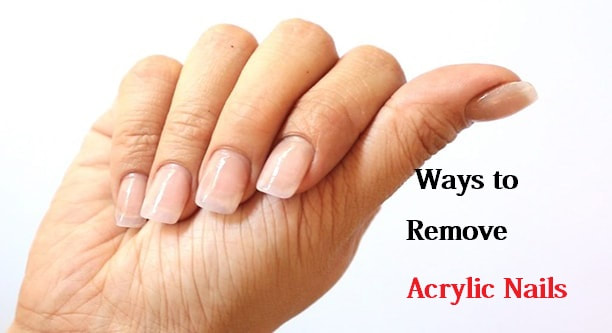 Nails Salons across the country have temporarily closed and it is causing frustration for locals who are accustomed to getting their nails and pedicures done on a regular basis. Due to the unfortunate events that have taken place. Clients, in particular, are wanting to know how to take off their Acrylic/Gel Full sets and Gel Polish. If you are currently wearing enhancements like Acrylic, it is probably best if you completely soak off your nails until your salon is up and running again. Artificial nails require routine fills and maintenance and if not kept up you can be subjected to the greenies better known as nail fungus.
Acrylic nails can be simply removed with Acetone. Acrylic Nails and Gel Polish are the only types of services that can be removed with acetone. Hard Gel polish requires more manual removal, like with a coarse grit nail file or by using an electric nail drill if the nails are layered thick. How should you remove your Acrylic Nails? 1. Fill up a glass bowl with enough acetone to cover the tips of your fingernails 2. Soak your nails in the acetone until the acrylic starts to break up and separate. If your acrylic application is thick, you may have to soak them longer. 3. After the acrylic has dissolved thoroughly, take your 100/180 grit nail file and remove the remaining acrylic. (This is also the time where you can trim your nails back with a fingernail clipper. The nails are often soft and flimsy after taking off Acrylics). 4. After filing with a 100/180 grit nail file, take your buffer block and smooth the nail ridges out of the nail 5. Wash your hands with warm soapy water to cleanse away residue and dust from buffing and filing the nail 6. Dry hands thoroughly and apply a nail strengthener 2-3 x per week to regain the health of the nail. 7. Apply daily cuticle oil to help keep the nail plate moisturized and the cuticles soft.
2 Comments
4/2/2023 11:52:42 am
These step-by-step instructions are useful for those who are in need of removing their acrylic nails at home during the global salon shutdown. The instructions are clear and easy to follow, and they emphasize the importance of using acetone and taking proper care of the nails afterwards. It is important to take proper care of your nails at home to avoid potential nail fungus while waiting for your salon to open again. Leave a Reply. |
Questions?
thetravelingpedicurist@gmail
AntiFungal Oil
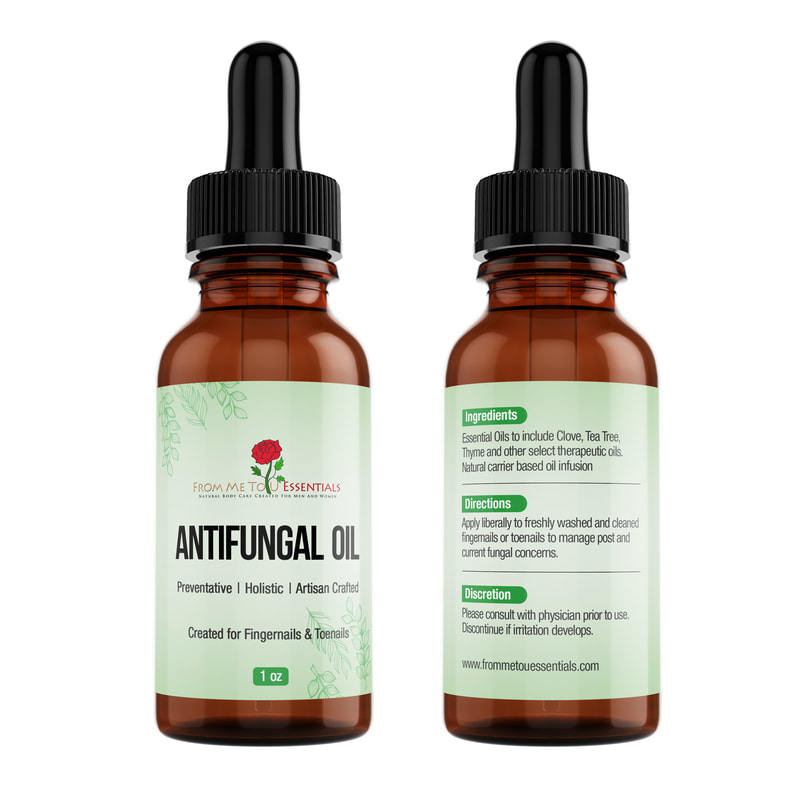
Anti-Fungal Topical Oil:
For Toenails and Fingernails
Manageable and Holistic approach
From Me To U Essentials
Everything You Need To Know To Become A Traveling Pedicurist: A Simple and Easy To Read Reference Guide For Pedicurist and Industry Professionals: Kindle Edition
Purchase on Amazon: 
Ad Space for Healthcare Agencies & Providers.
$99.00 Per Month.......
3-month, 6-month & 1-year
|
 RSS Feed